
You can use your tags to divide your subscribers into different categories. Categories can e.g. B. be: student, teenager, boy, girl, etc. In this article we will explain to you how you can easily create your tags.
Create tags
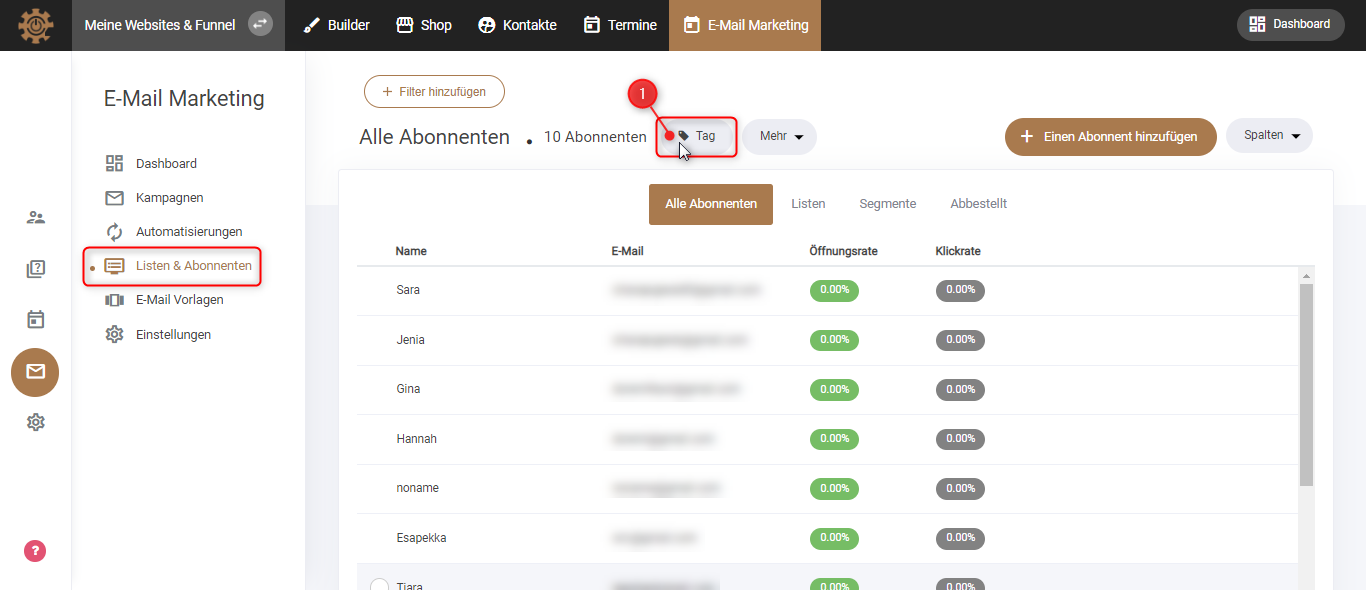
1. Under “Lists & Subscribers” you will find “Tags” at the top. Click on it.
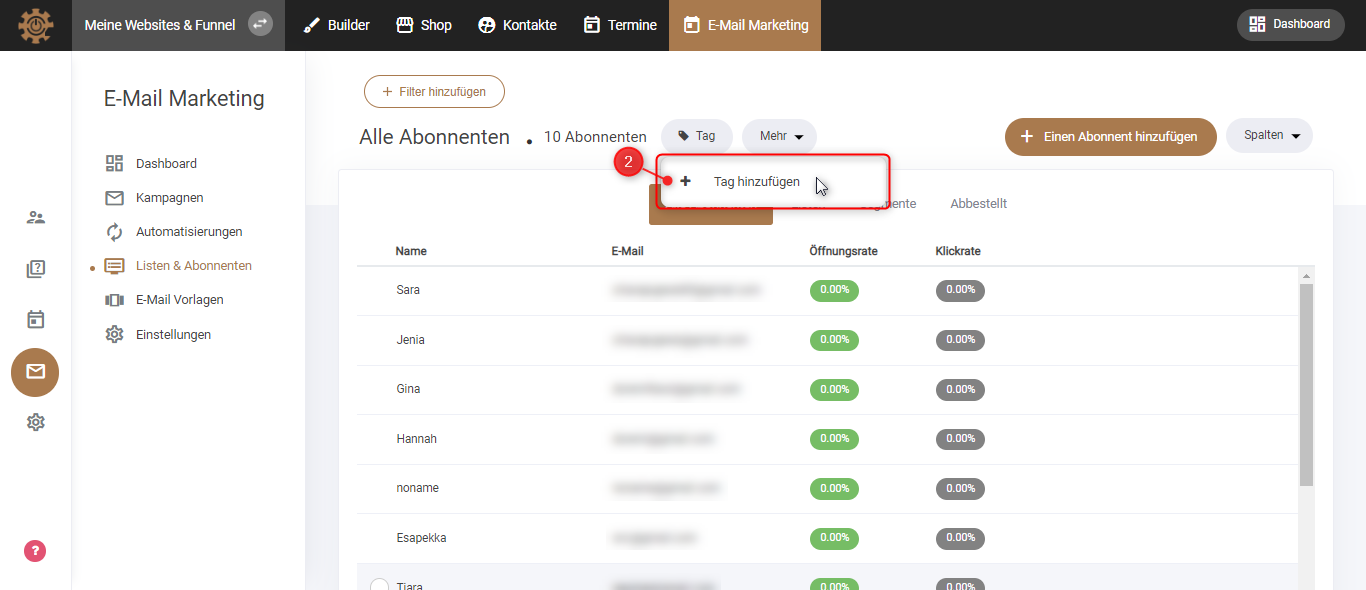
2. Now the option “Add Tags” will appear. Click on that too.
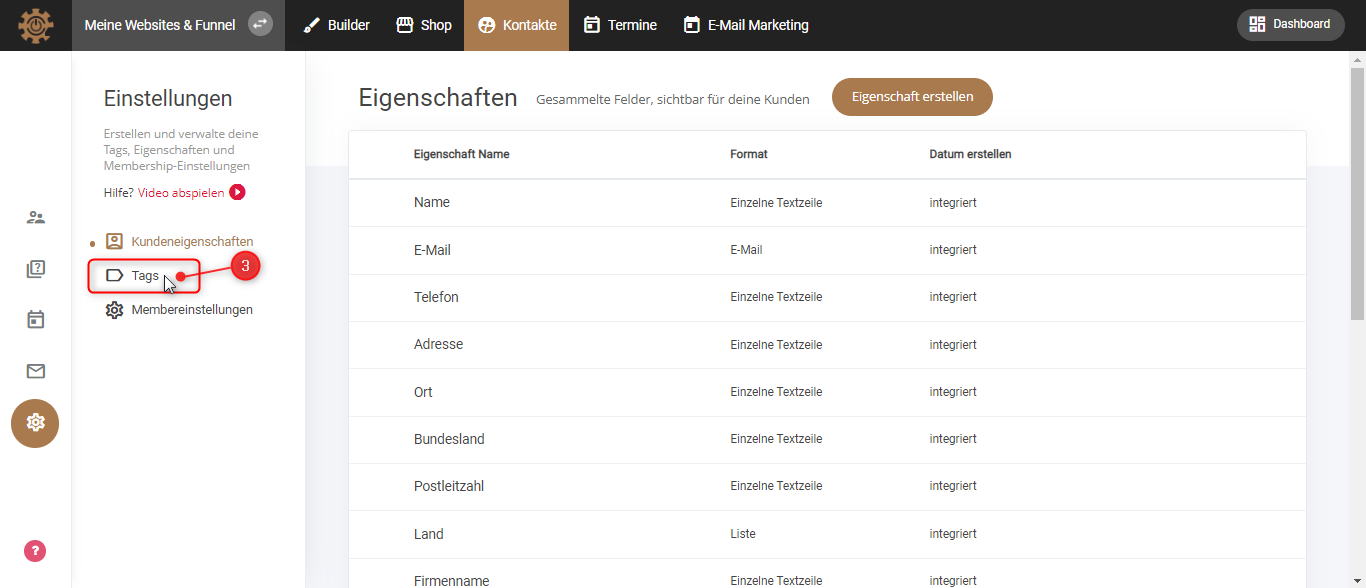
3. Now you see various properties and in the left column you will find “Tags” again. Click on it.
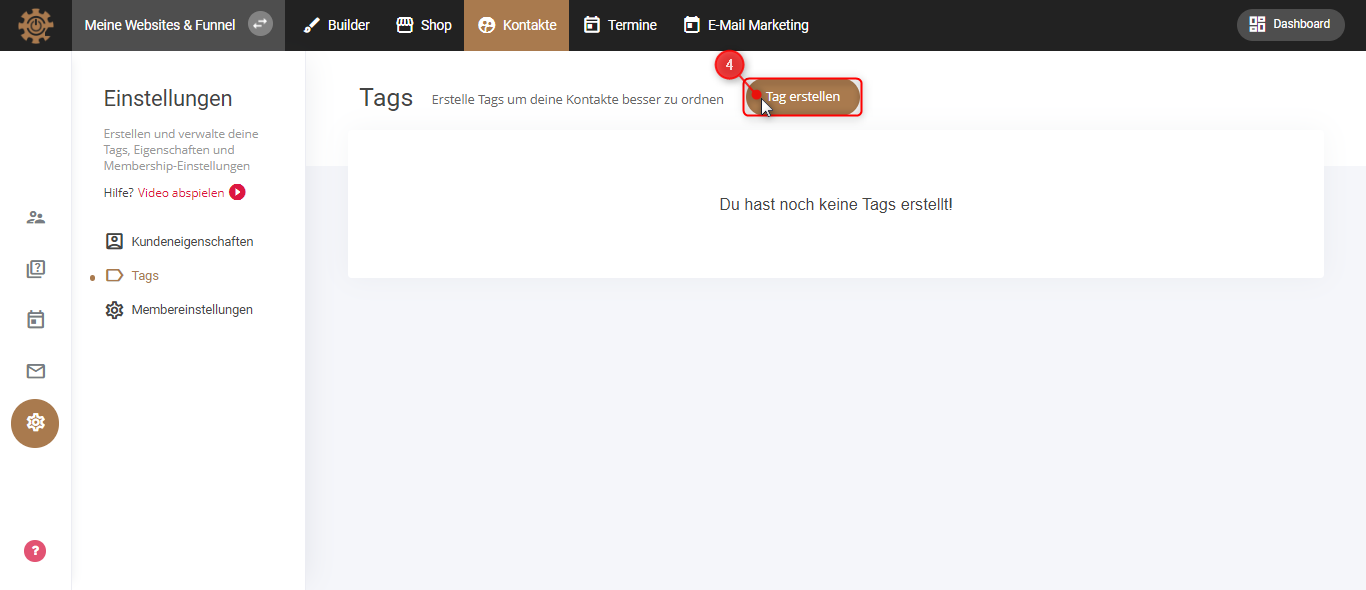
4. Most likely you will see the information that you have not created any tags yet. To change this, click “Create Tag” in the top center.
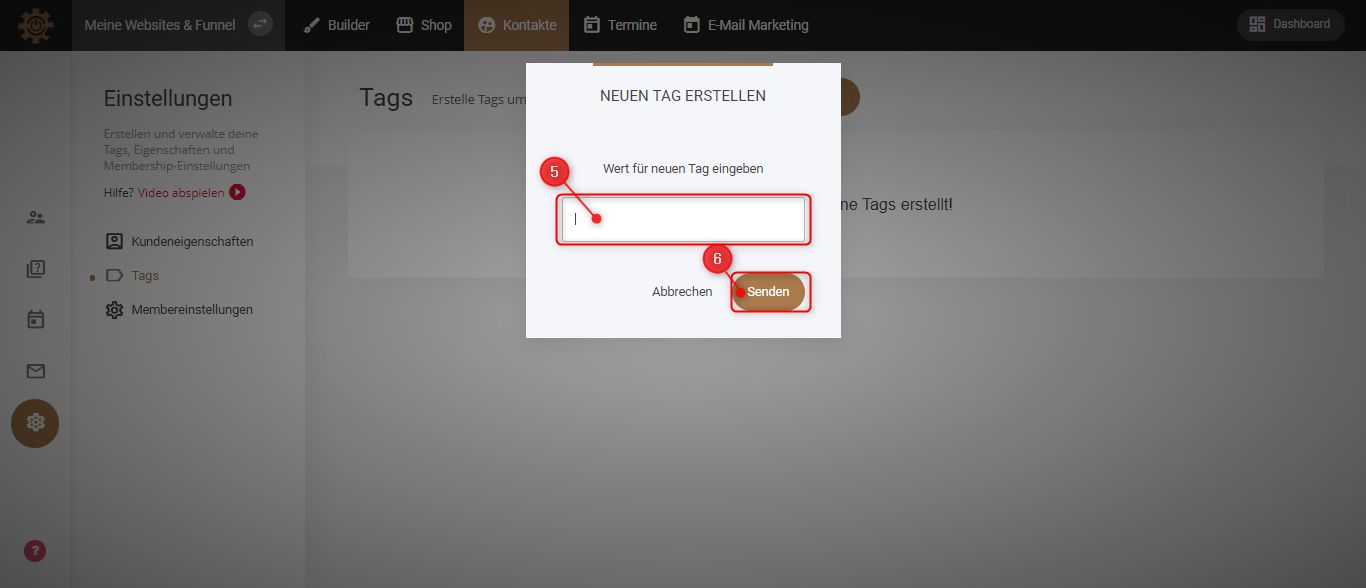
5. “Enter value for a new tag” means giving your tag a name that your subscriber will be tagged with later. e.g. B. Student, or senior.
6. Click “Send”.
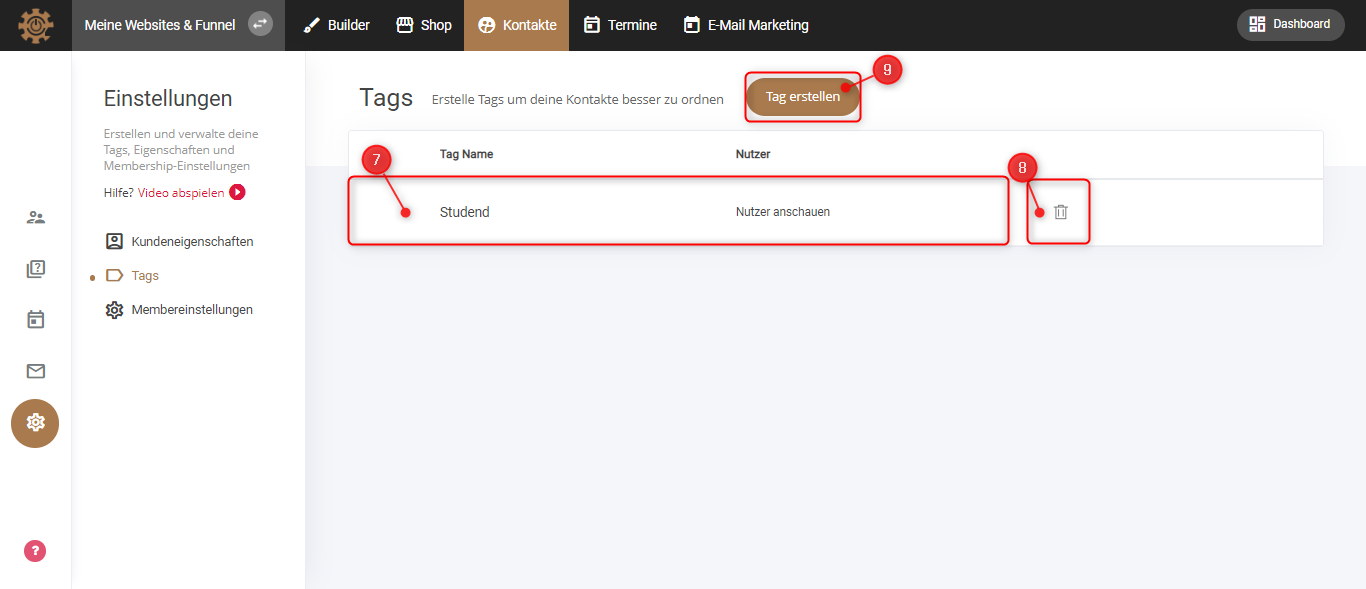
7. Now you will find your first day in the list.
8. To delete this tag, simply click on the “trash can icon” on the right and confirm that you want to delete the tag.
9. To create a new tag, click “Create Tag” again.
Apply tags to contacts
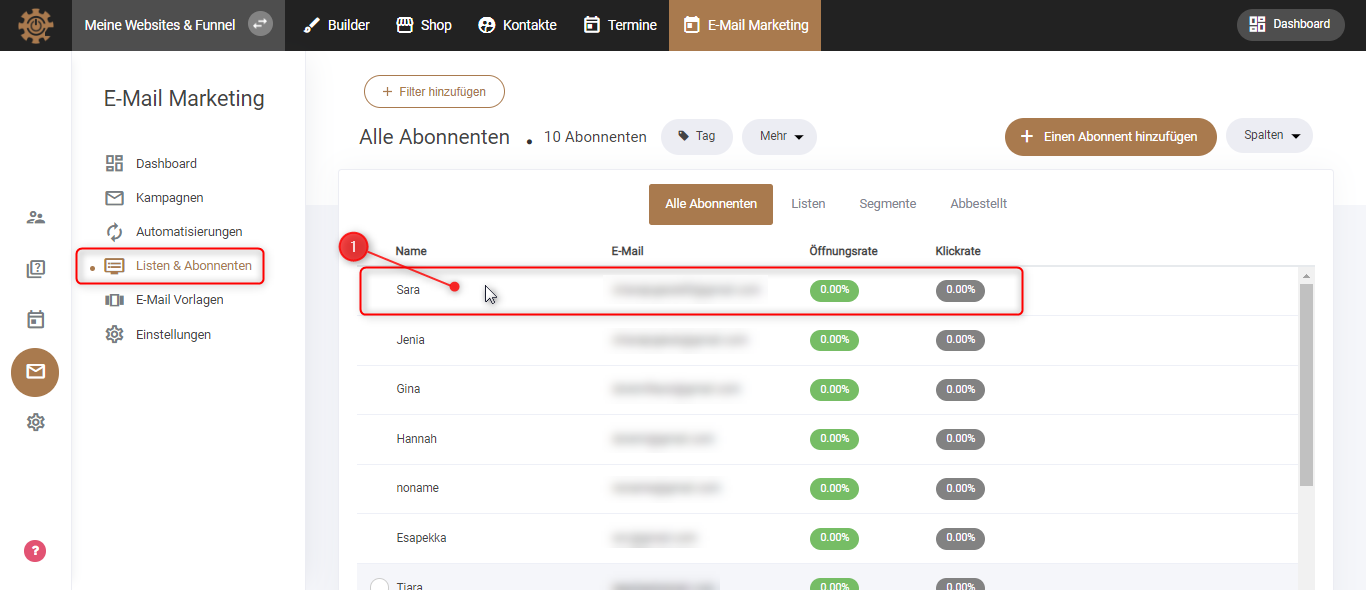
1. When you go back to the “List & Subscribers”, click on the subscriber you want to tag.

2. Scroll down further and you will find the option “Add Tag” in the left column.
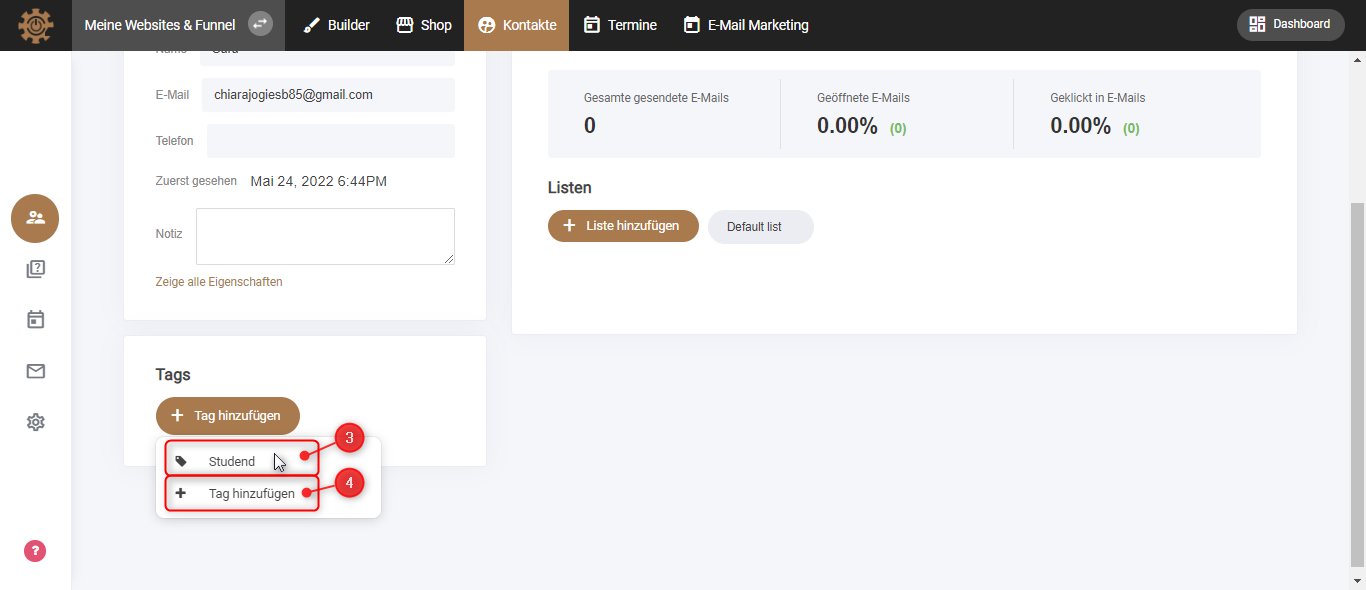
3. You can then add the contact to the “Student Tag”.
4. If you want to give this contact a tag that has not yet been created, click “Add Tag”. Then the process starts again and you can create a new day.
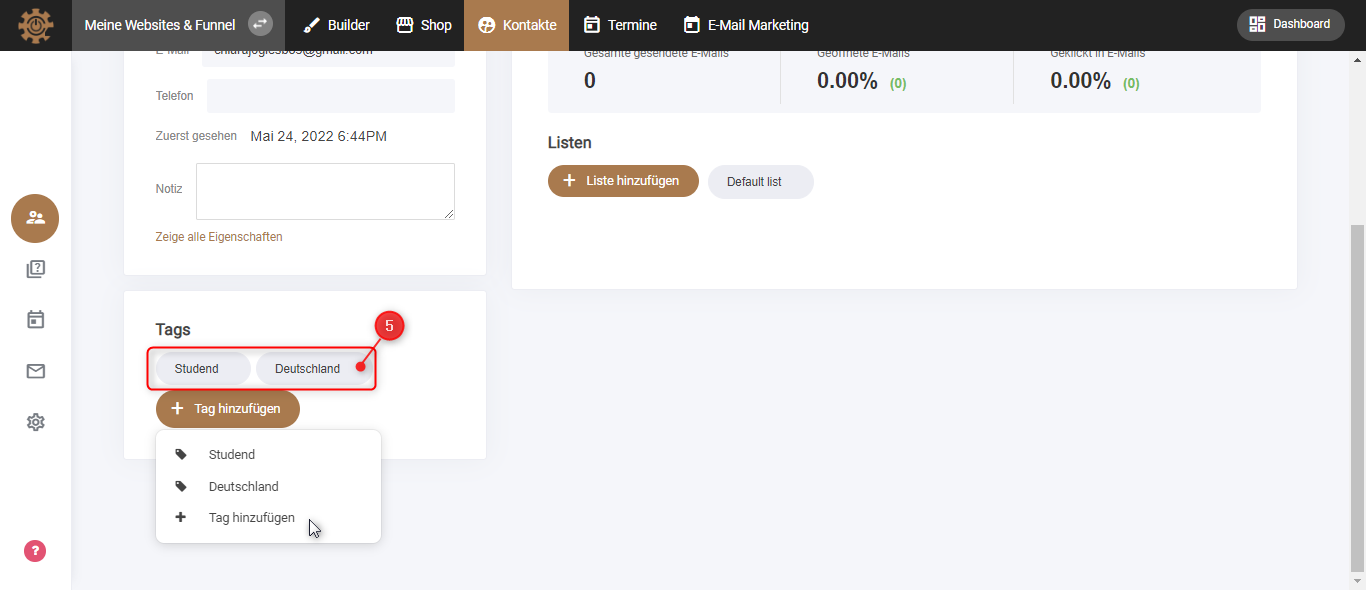
5. You can also give your subscriber more than just one tag.