
This part is about different edits you can make to the design of your email.
“Drag and drop”
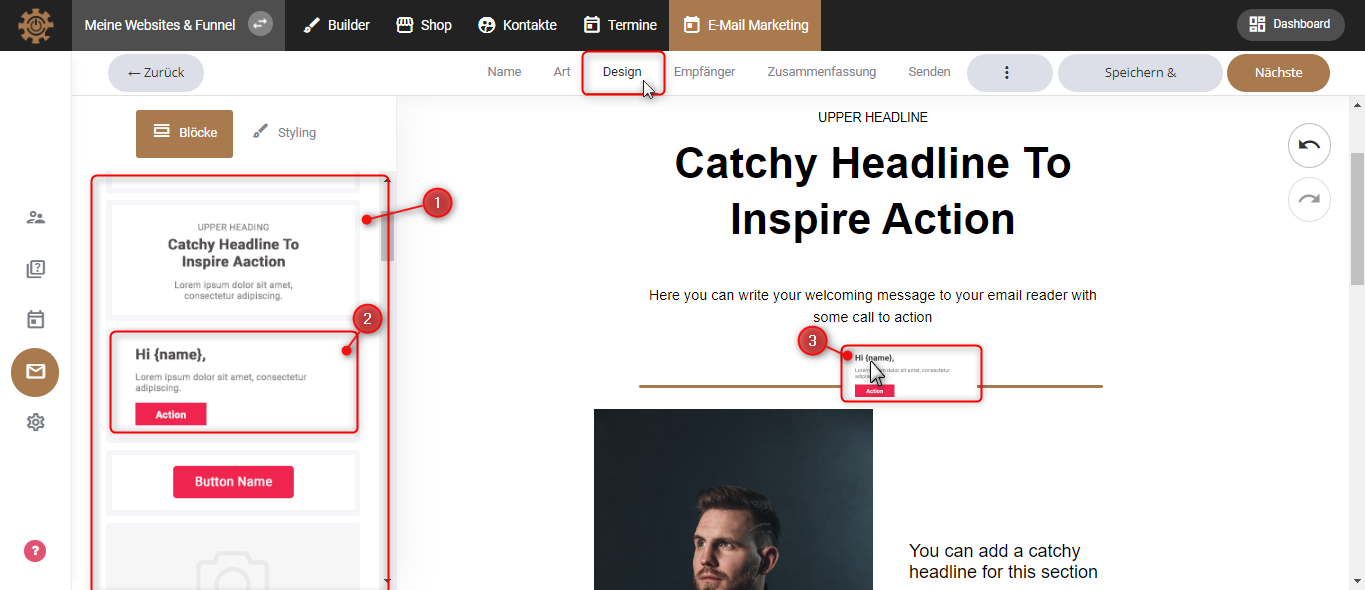
If you want to edit your email, first click on “Design”. You can edit your email here.
1. In the left column you will find various elements or blocks that you can add to the template.
2. To add a block to the template, click on any block. Drag this block anywhere...
3 ...and let him go.
4. Now you can see what the new block looks like in your email.
5. When you move the mouse back and forth on a block, short lines appear at the bottom and top. You can use these to determine the size of the block.
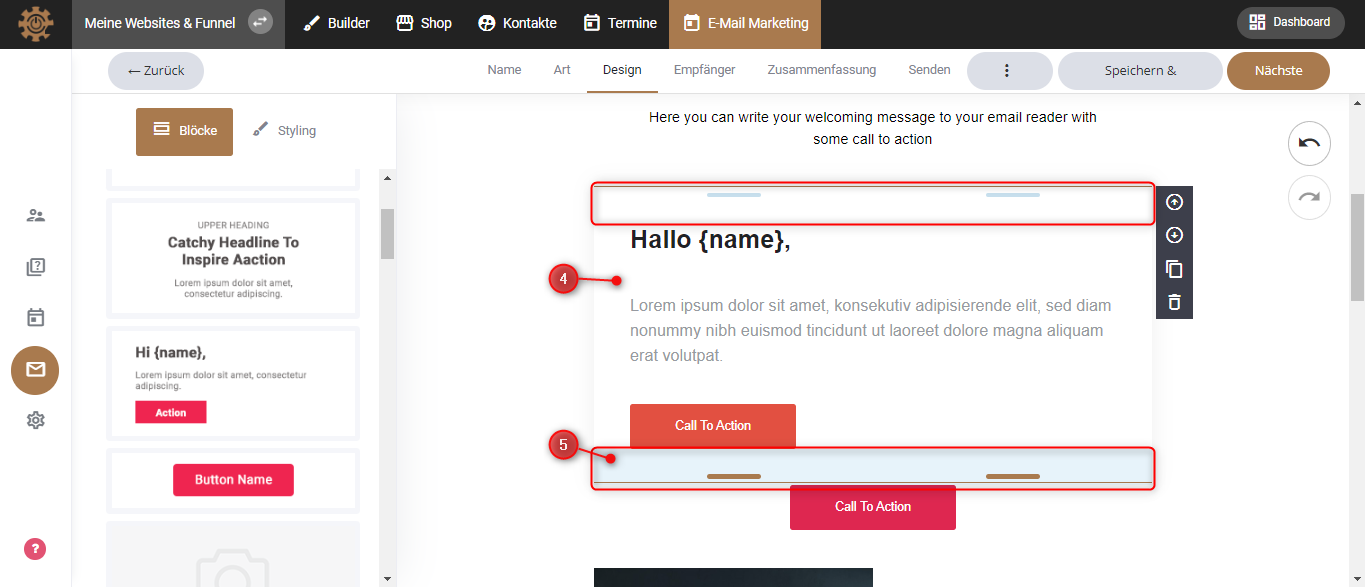
Edit blocks
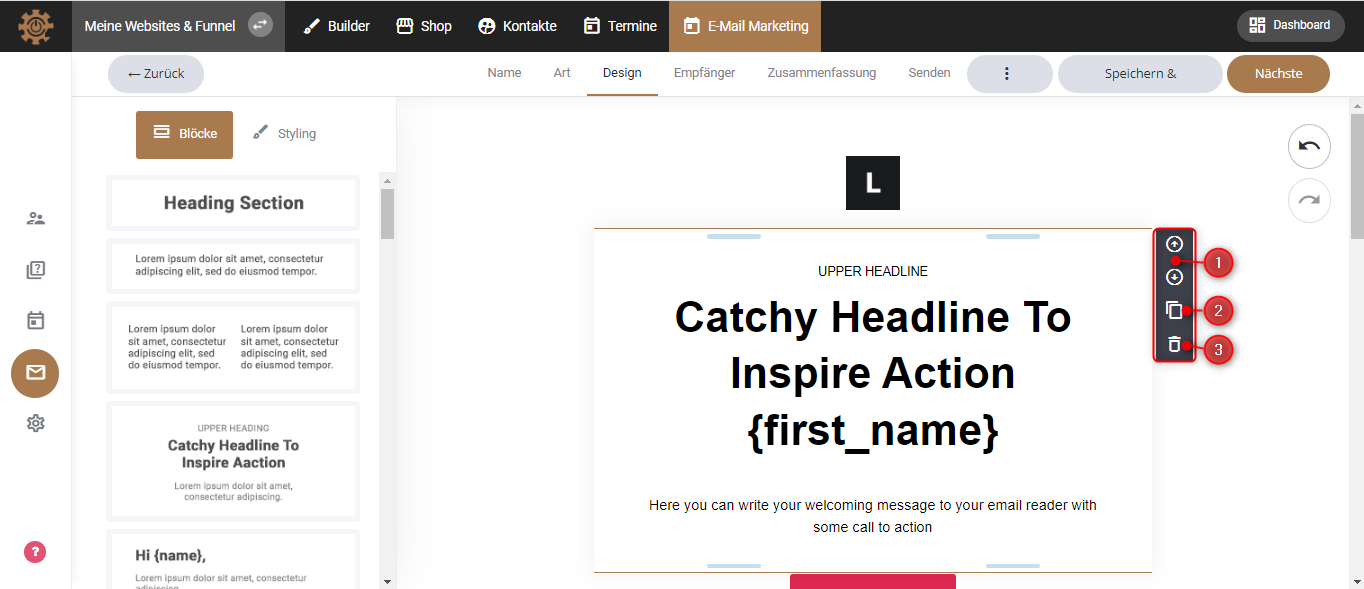
1. You can move your block using the pillars that point up and down.
2. Use the “duplicate sign” to duplicate a block.
3. The small trash can deletes your block.
Add tags to the blocks
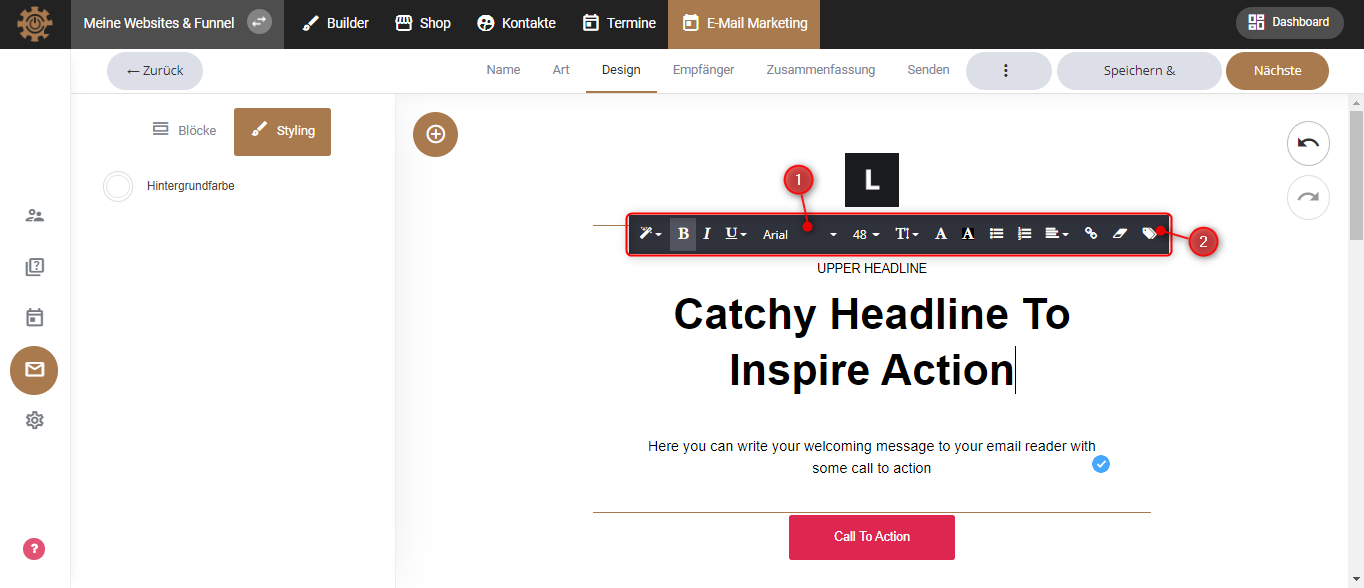
1. The bar above the heading has various tools, such as italic font, Font, font size, etc.
2. On the far right of this bar you will find a day. This helps you, for example, to add different tags to your email if you want. For example, you can add your subscribers' names automatically. If you click on it, a window will appear.
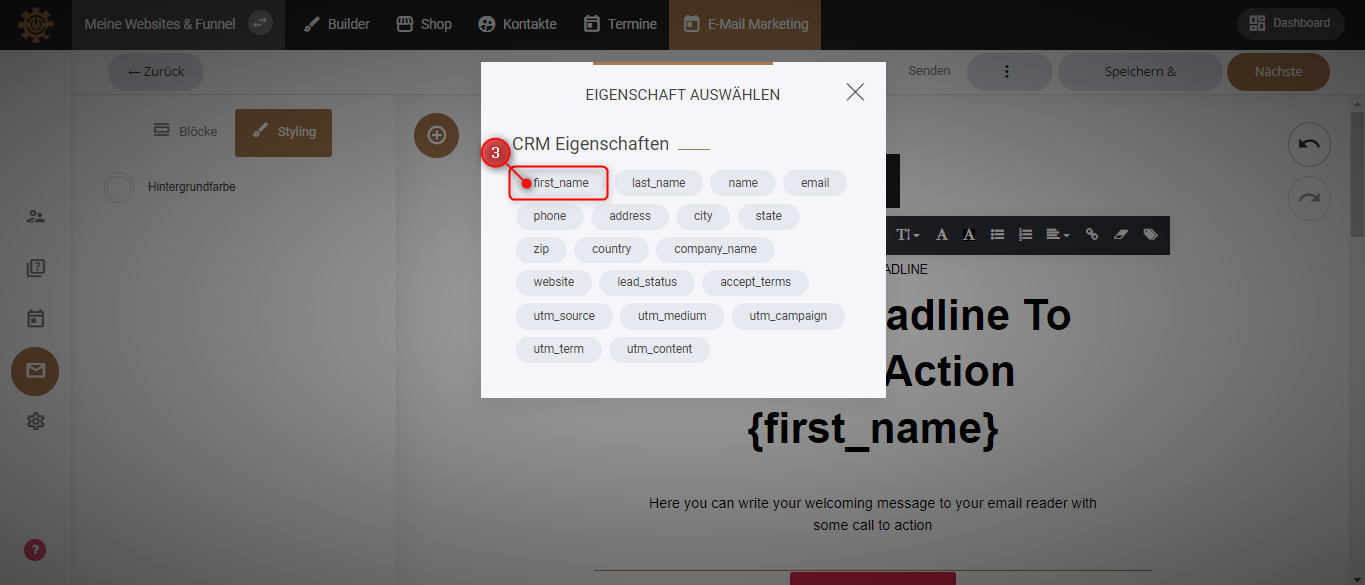
3. This window has various elements. We choose the first “first_name” and click on it. This means that the subscriber's first name will be automatically inserted into the email later.
Images in your email
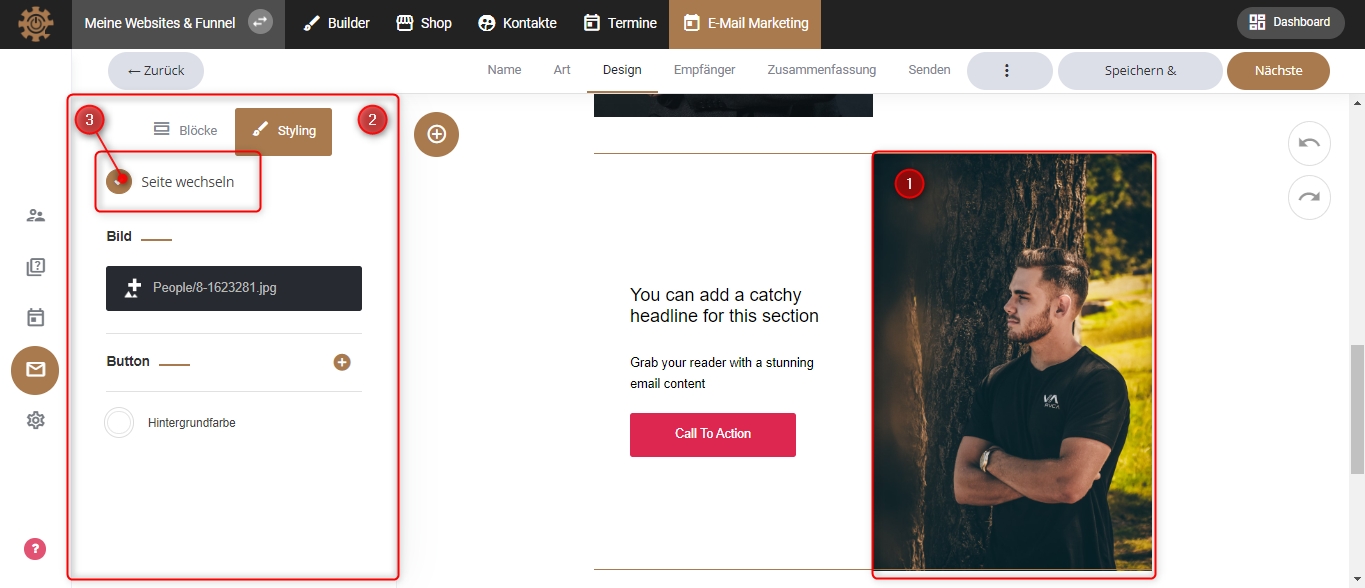
1. To change the page of a photo or call-to-action button, first click on the element whose page you want to change.
2. A new window will now appear on the left side.
3. At the top it says “Change page”. Click on it and as you can see, the image or element changes pages.
Undo actions
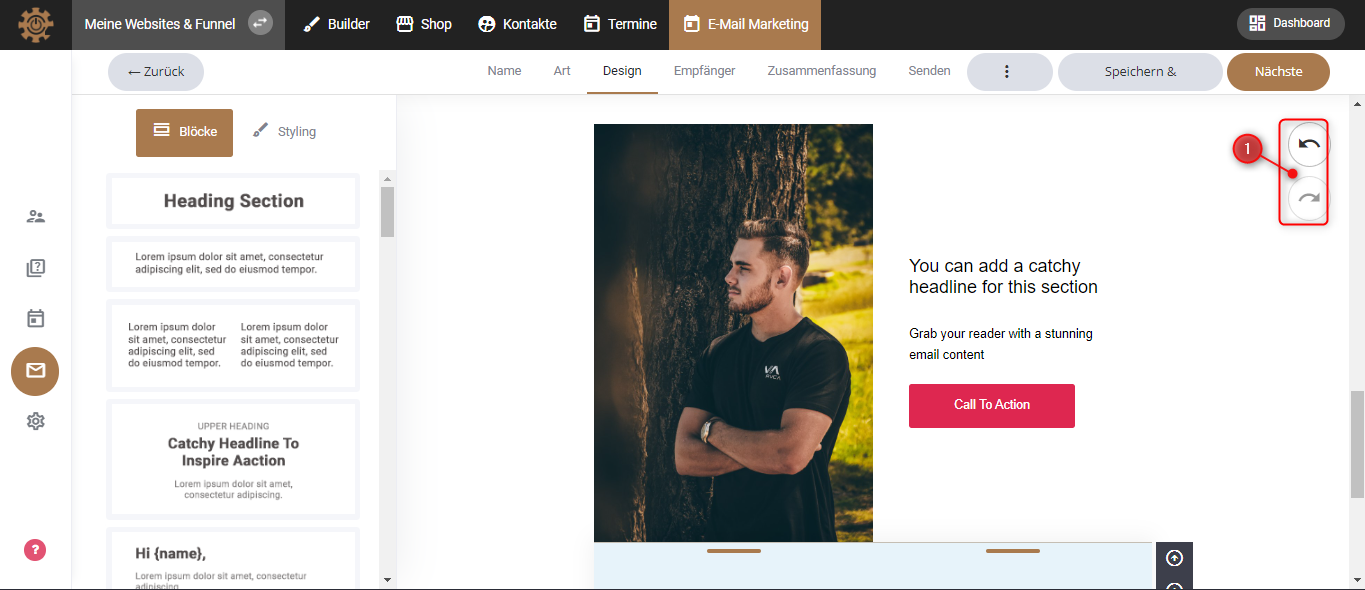
1. With the pillars at the top right, you can undo a deed or cause it to happen again.
Change background color of a single block
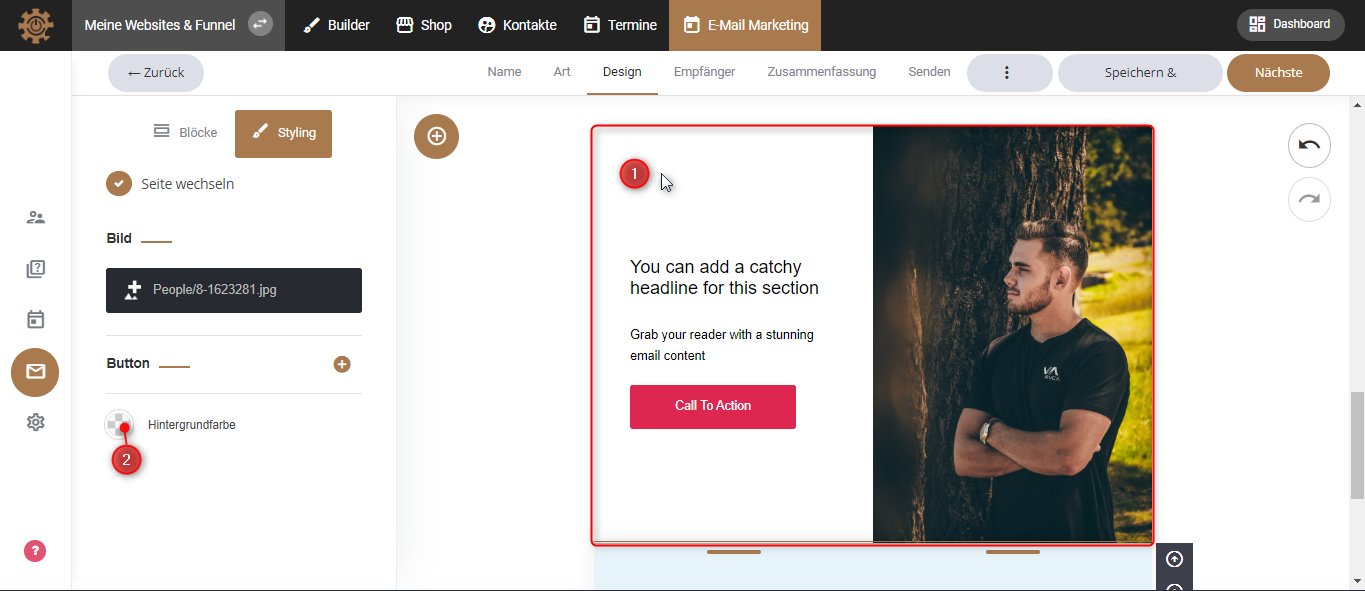
1. To change the background color of a block, click on that block. On the left side you will find a circle a little further down and next to it it says “background color”.
2. To change the background color of the block, click on this circle.
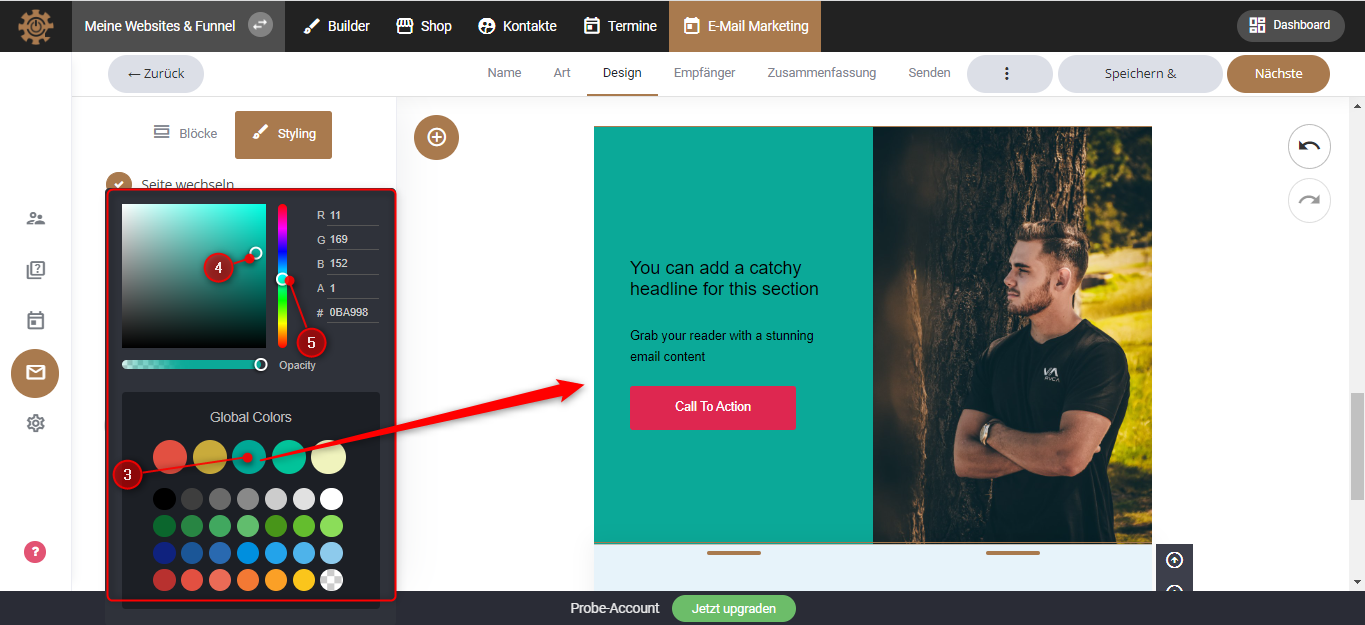
3. And another small black window will appear with many different colors. First, click on any color and you will see the part you selected change color. You can do this process with different areas of your email.
4. You can also darken or lighten a color using the small dot that is inside the yellow square to the left of the dark window.
5. Or choose a color that is not found at the bottom of the color palette.
Change the background color of the email
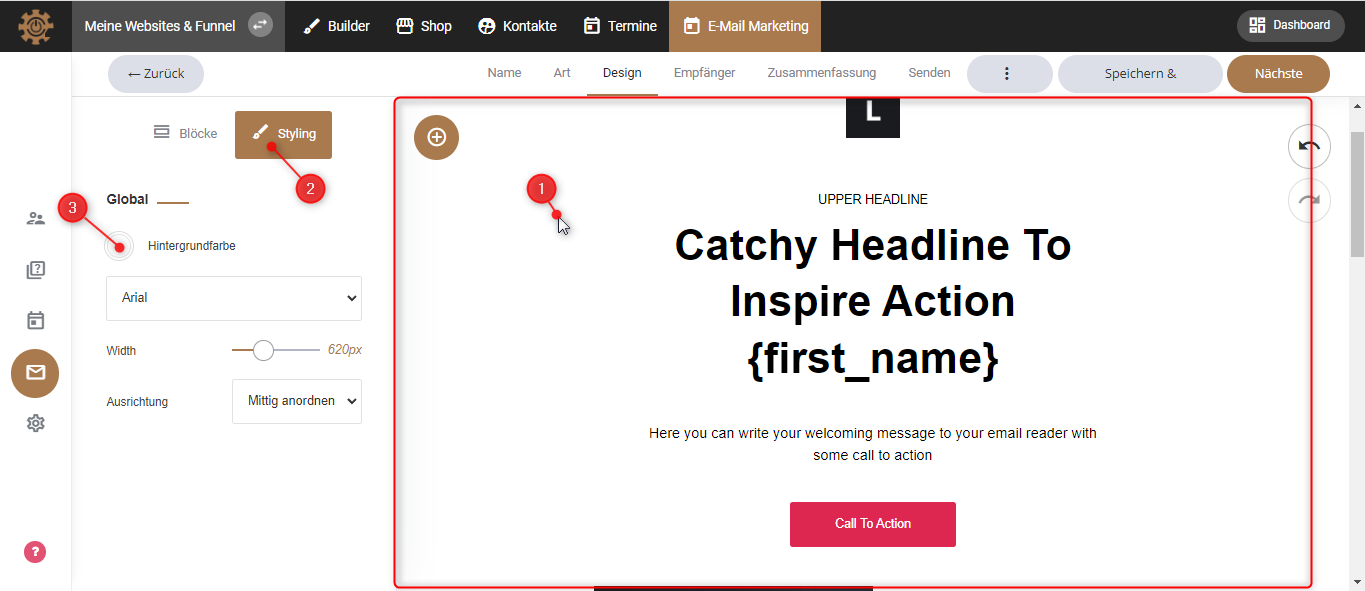
1. To change the background color of your entire email, click outside the block.
2. Click on “Styling”.
3. Here too you find the small “background color” and click on it.
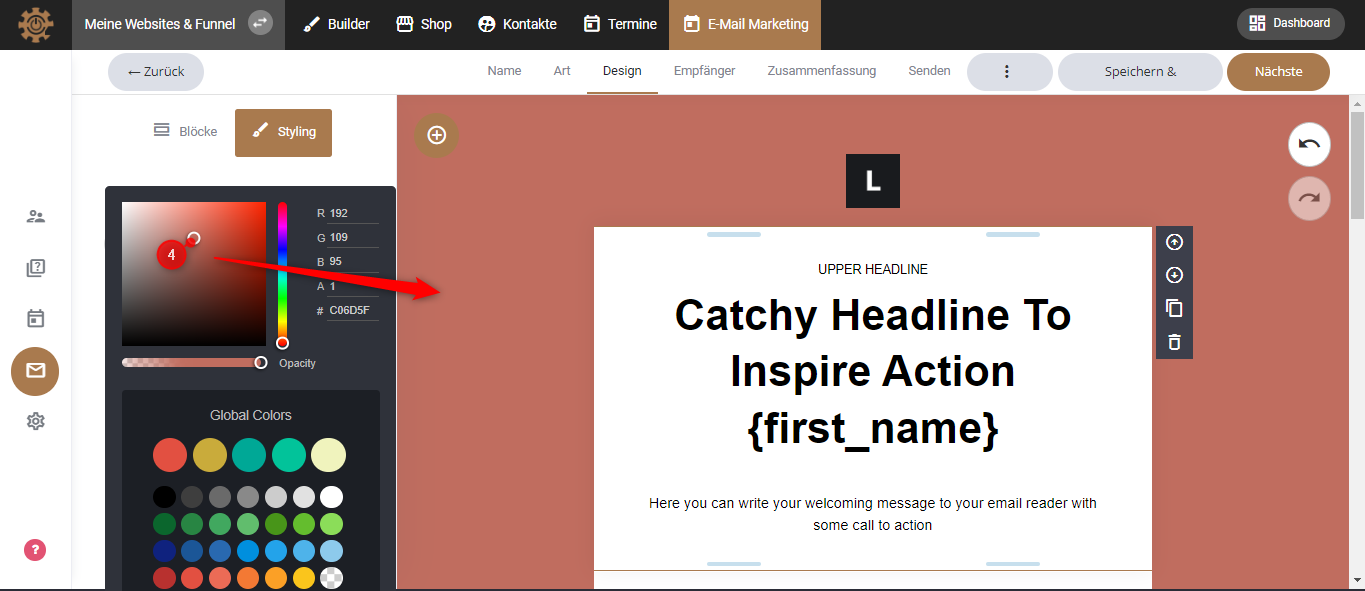
4. Here you change the color just like with the individual blocks and you can also invent various new tones that are not in the palette.
Select width of blocks
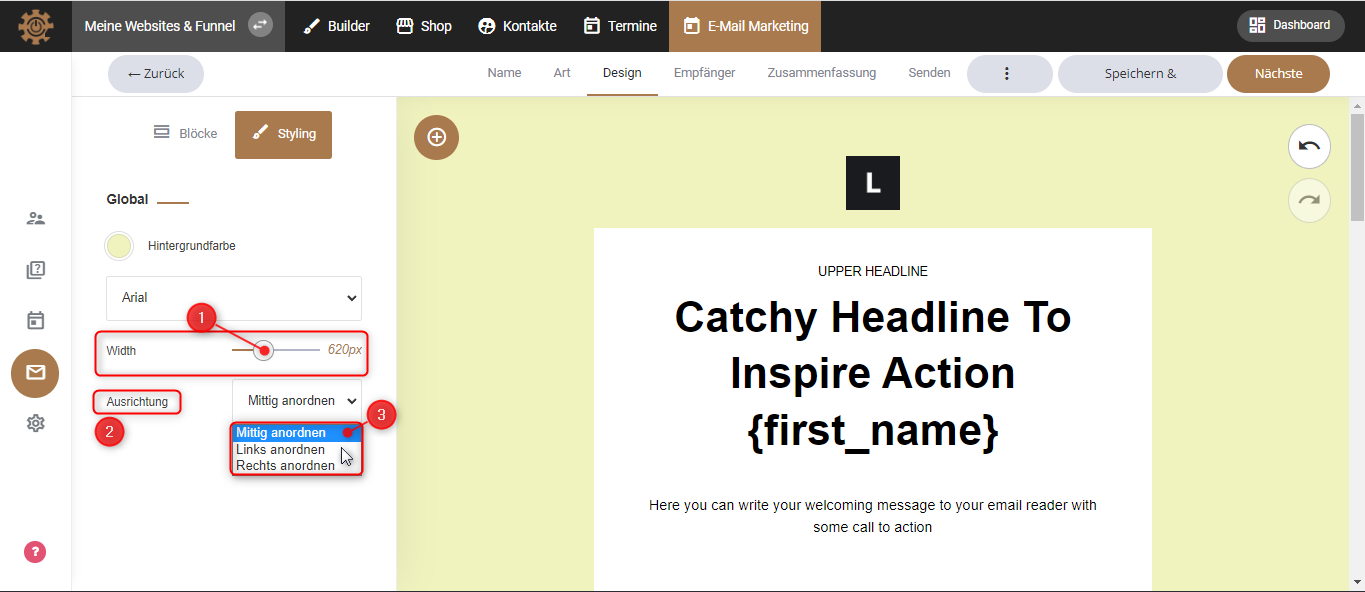
1. When you are styling the email, you can also determine the width of the blocks. You do this with what you might call a “lever” that you can push back and forth. This allows you to decide how wide the blocks in your email should be.
2. The bottom item “Align” allows you to arrange the email on the left, in the middle, or on the right. Click “Order Center.”
3. With the three options you can choose how you want your email to be arranged.

4. Once you have finished creating the email template, click on “Next” (top right corner).