
This article will help you create an A/B campaign. With a split campaign you can carry out various tests. For example, you can test headings, images, call-to-action buttons, etc.
A/B split campaign
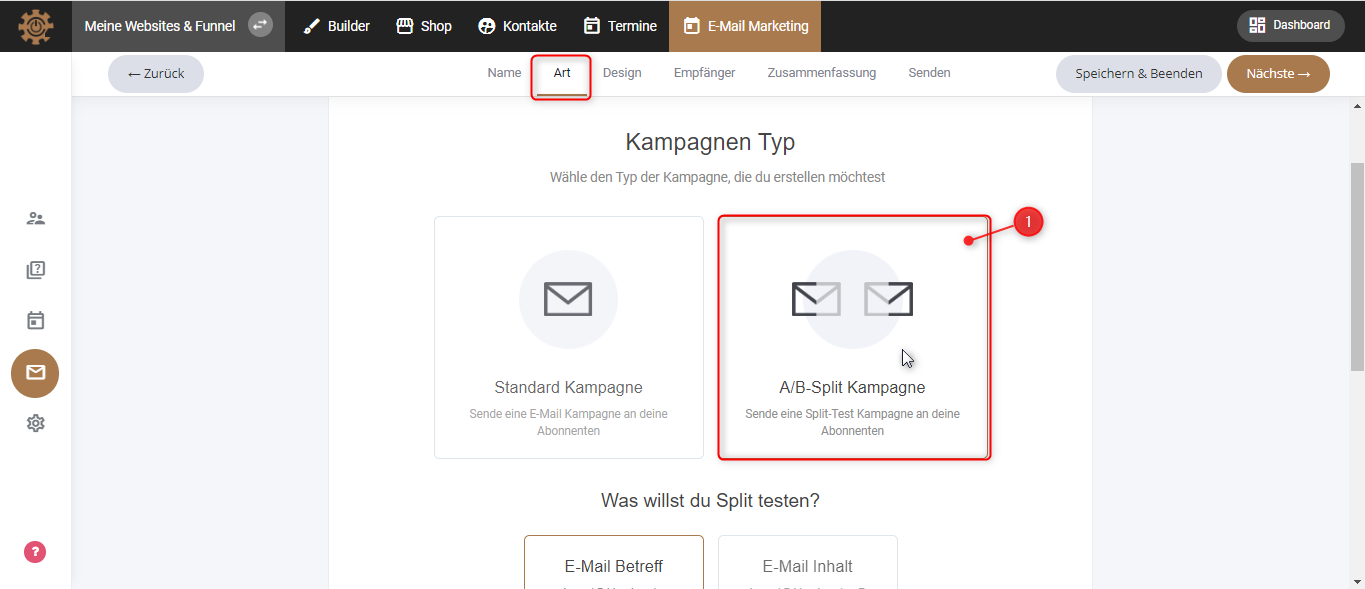
1. When you are in “Art”, you can decide whether you want to create a standard campaign or an A/B split campaign. In this article we want to look at the A/B campaign. Click on A/B split campaign.
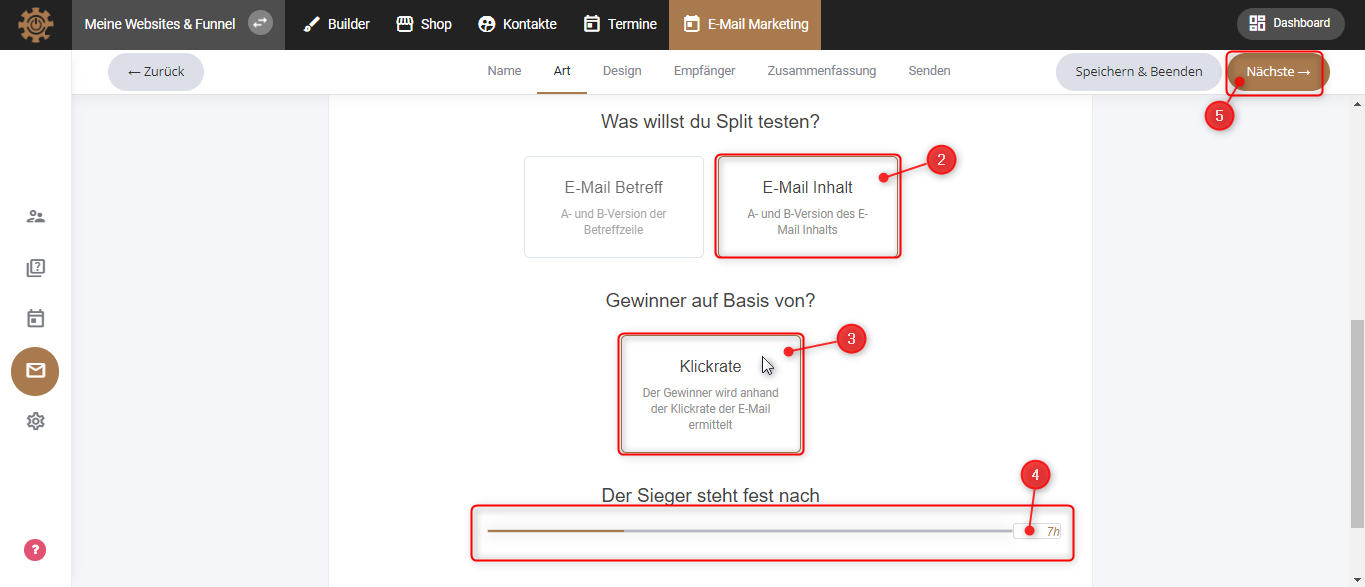
2. If you now scroll further down, you can choose what you want to test in the split campaign. First click on “Email Content”.
3. Next, you decide how to determine the winner, i.e. the campaign that was best received by your subscribers. In this case, all we have to do is click through rate.
4. Lastly, you can set the time after which the winner should be determined. You do this by clicking on the thin line with the mouse and moving it back and forth. The number of hours is shown on the right side of the line. Minimum is one hour and maximum is 24 hours. In our example, the winner is determined after 7 hours.
5. Once all of that is set, click “Next.”
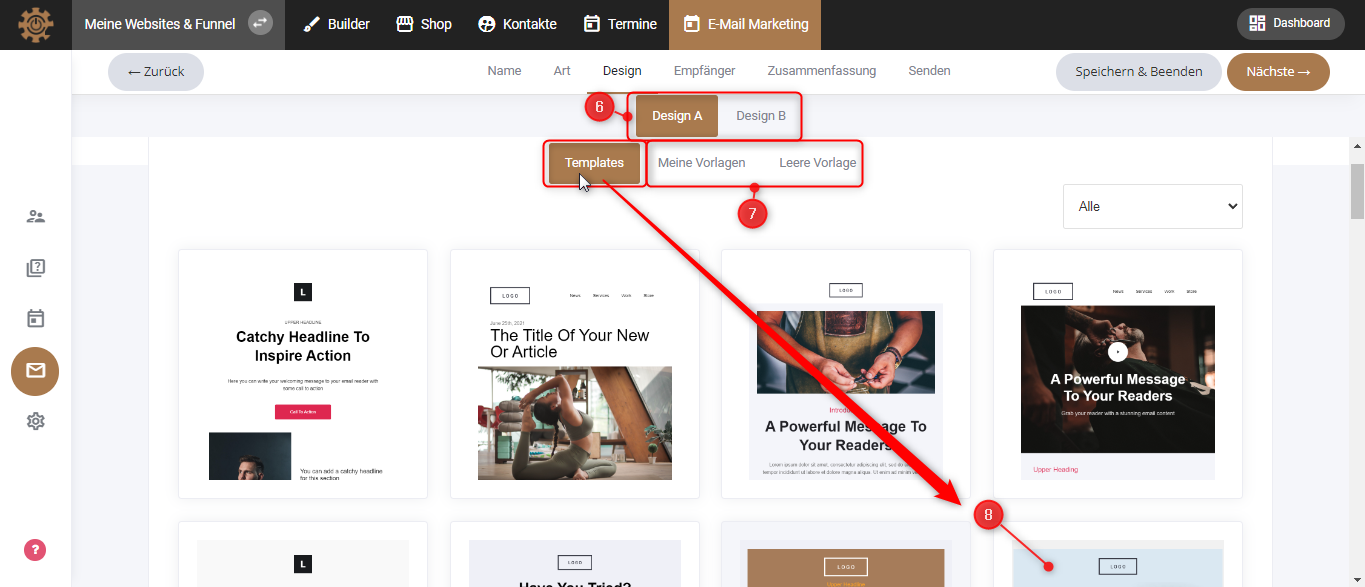
6. On this page you will see “Design A” and “Design B” at the top. This means you have to prepare two different templates to send to your subscribers. Select a template for “Design A”.
7. Here you can also choose between “My template” and “Empty template”.
8. In this case we choose a template that has already been created and where we only insert our information, change some images, etc.
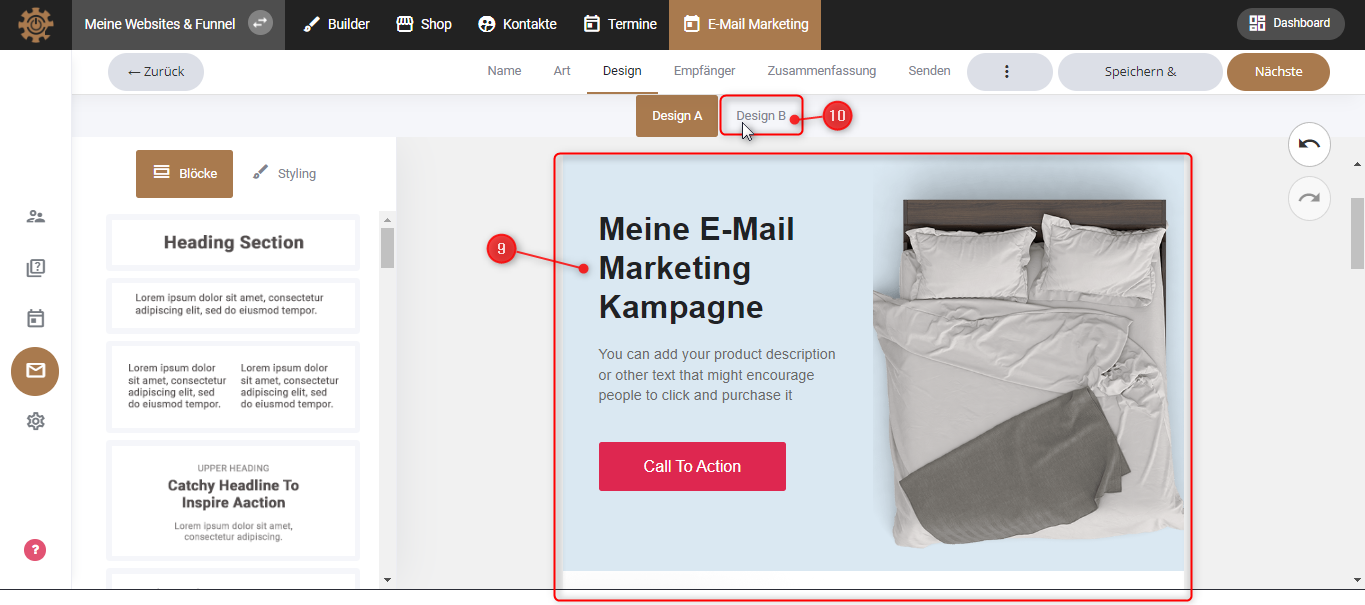
9. Now create your email by inserting your text, uploading images, changing background color, etc.
10. When you are finished with “Design A,” click “Design B.”
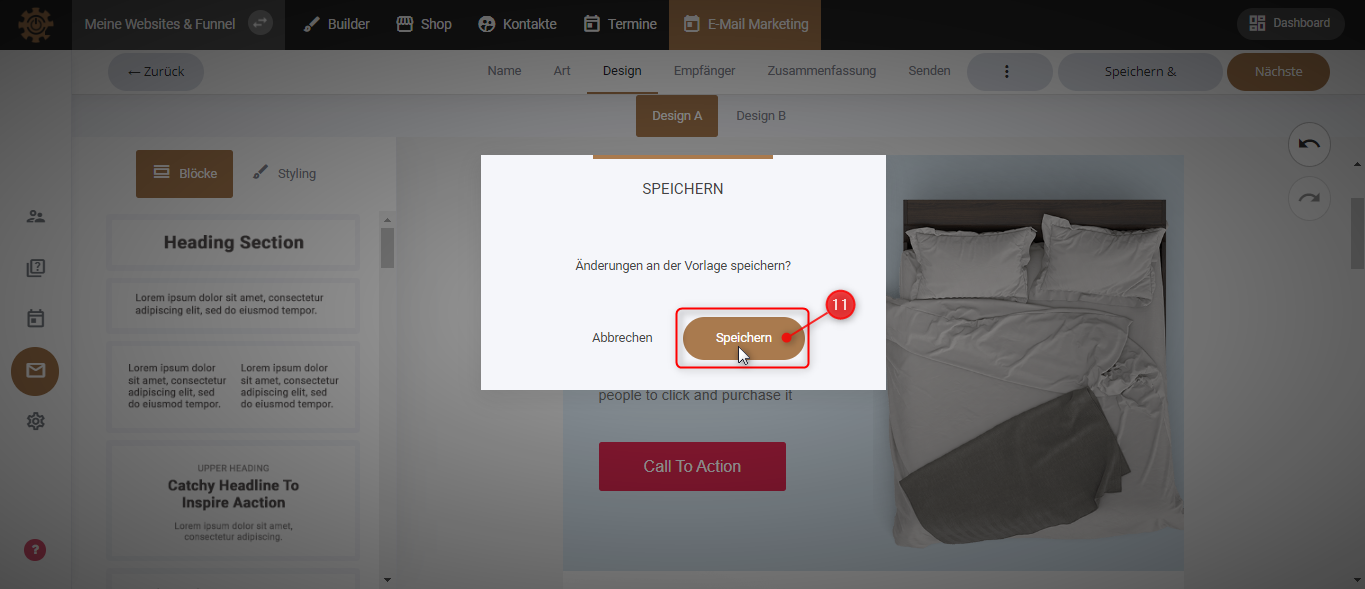
11. A small window will appear asking if you want to save the changes to the template. Click “Save.”
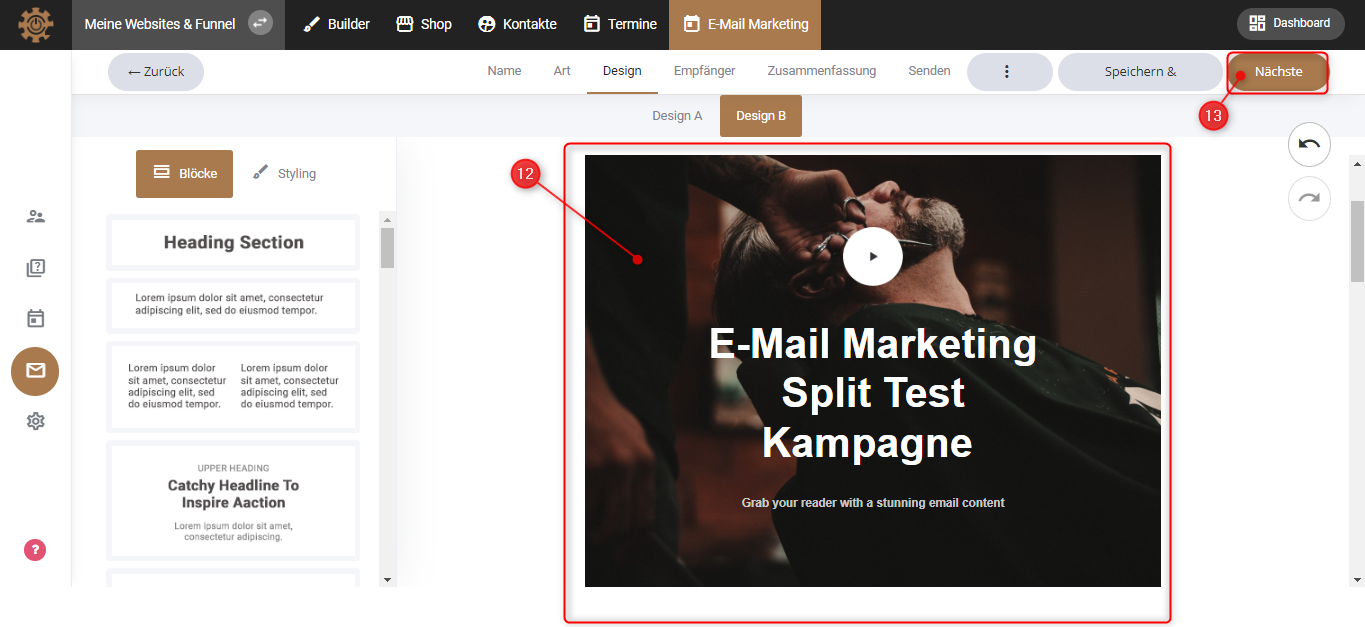
12. Then you can start with “Design B” and design your campaign in a slightly different version than in “Design A”.
13. When you are finished with this design, click “NEXT”.
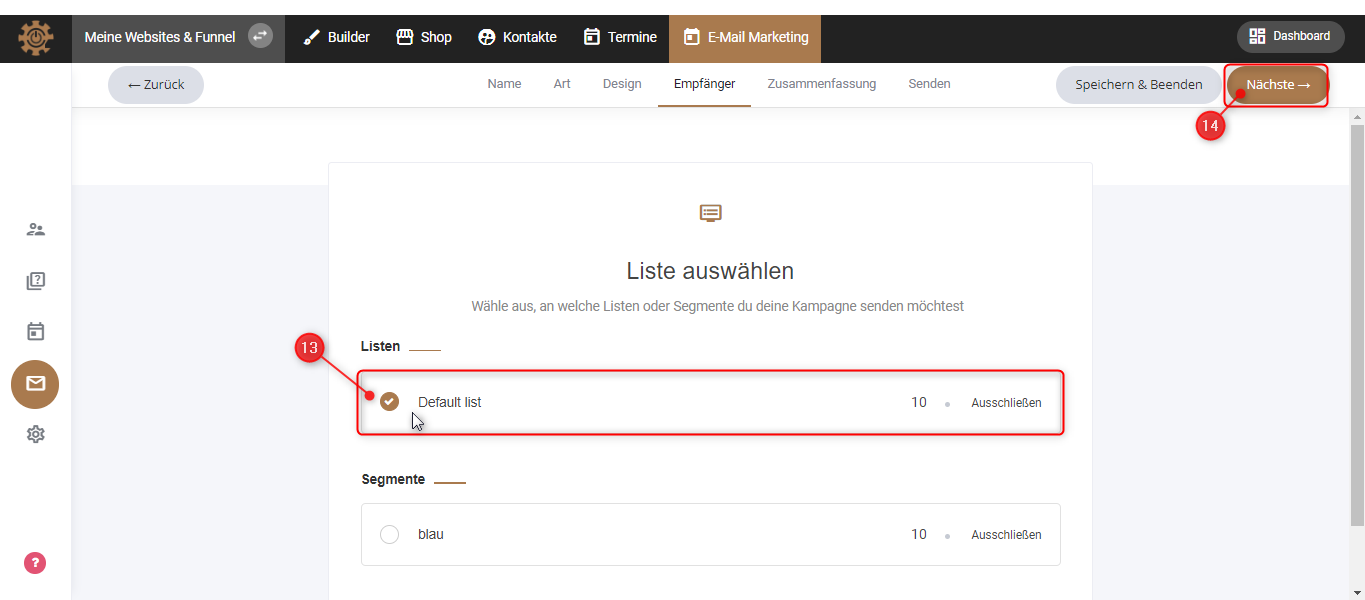
14. You can divide your subscribers into different lists according to different characteristics (e.g. by country, address, city, etc.). But it is also possible to have a list of all subscribers. Here you can now select a list to which subscribers you would like to send your email campaign, in this case the default list.
15. Click “Next.”

16. Enter an email subject, e.g. b. “Existing products”.
17. You can also add properties by clicking “Add Properties”.
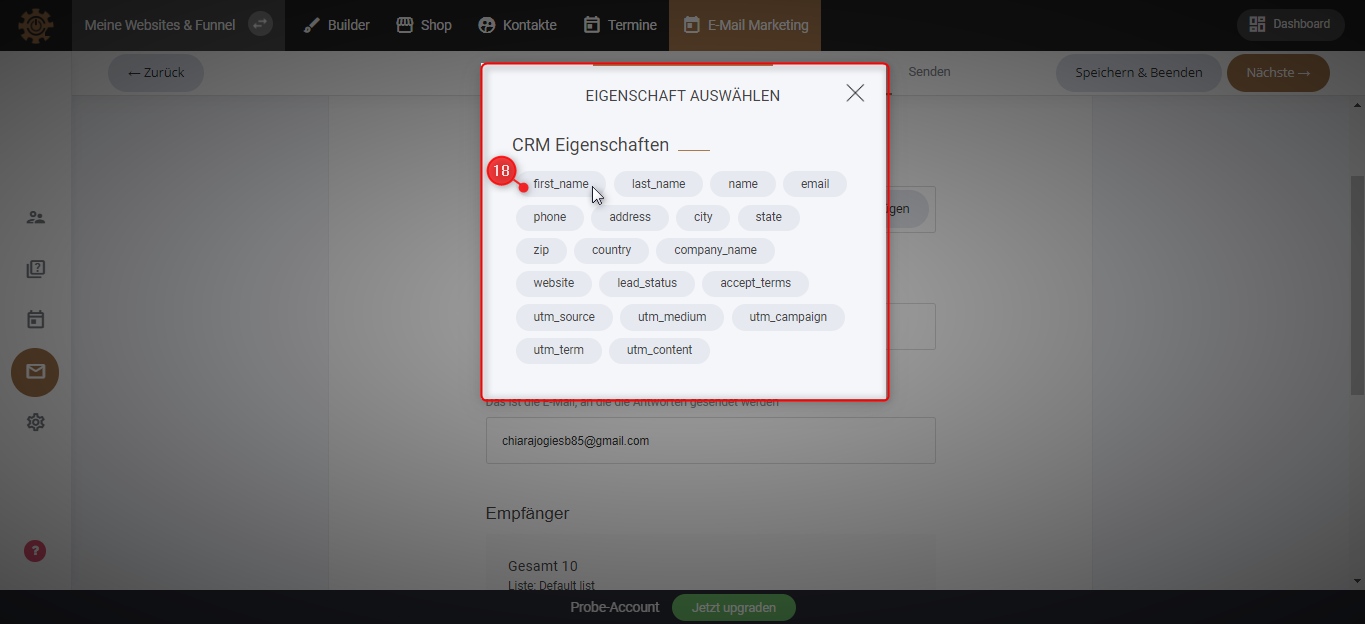
18. Here you can select properties such as name, last name, city, address, etc., for example "first name", to automatically mention your subscribers by name in the email.
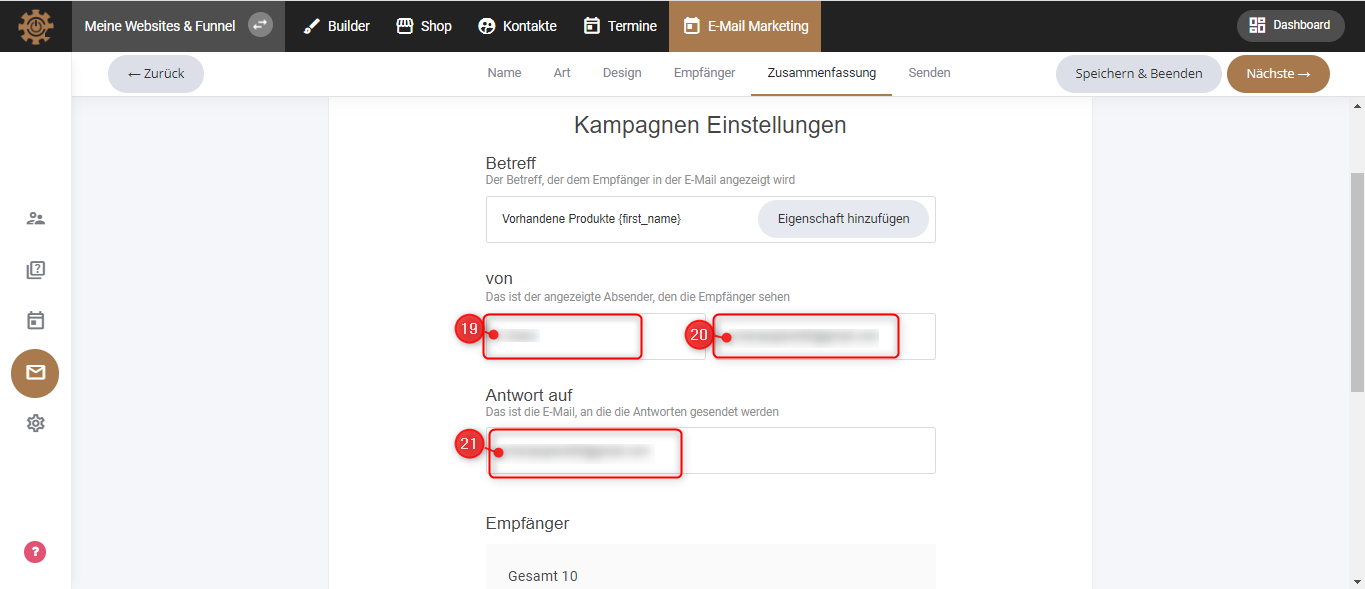
19. Enter the sender name,
20. and the sender email.
21. Replies will later be sent to the email address you enter here.
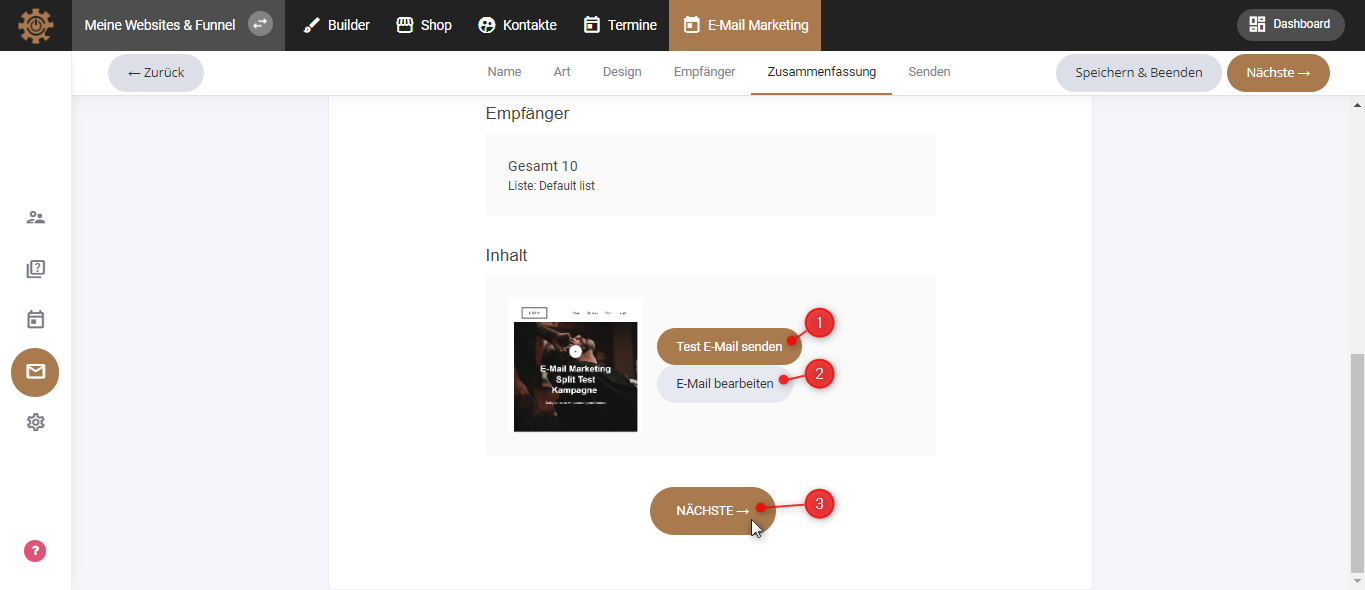
Now you have 3 options: You can send a test email to see what your email will look like in your inbox later. It's best to test your email on multiple devices, such as a PC or cell phone, so you can see what the email looks like on small and large screens.
If you then find that you need to revise your email again, you can do it here.
However, if you are sure that you want to send the emails already, click on “Next”.